


Easy as 1. 2. 3.
-

Place it
Make sure your sticker is on the product exactly where you want it.
-

Press it
Press it down using a felt edge squeegee.
-

Peel it
Peel away the backing and voilà.


Application Instructions
To ensure your stickers stick, follow these simple instructions
1. Prep Your Surface and Pre-Squeegee Your Sticker
Prepping the Area - Clean the surface of your item before applying the Sticker using either soap & water or a mixture of rubbing alcohol and water (50/50 mix). The cleaner the surface, the more permanent to natural elements and wear and tear.
Pre-Squeegee - After cutting out your Sticker, place the design face down with the white side facing up. Using the padded end of the included squeegee or credit card, run over it with hard pressure, back and forth 3-5 times. This forces the design onto the clear carrier sheet.
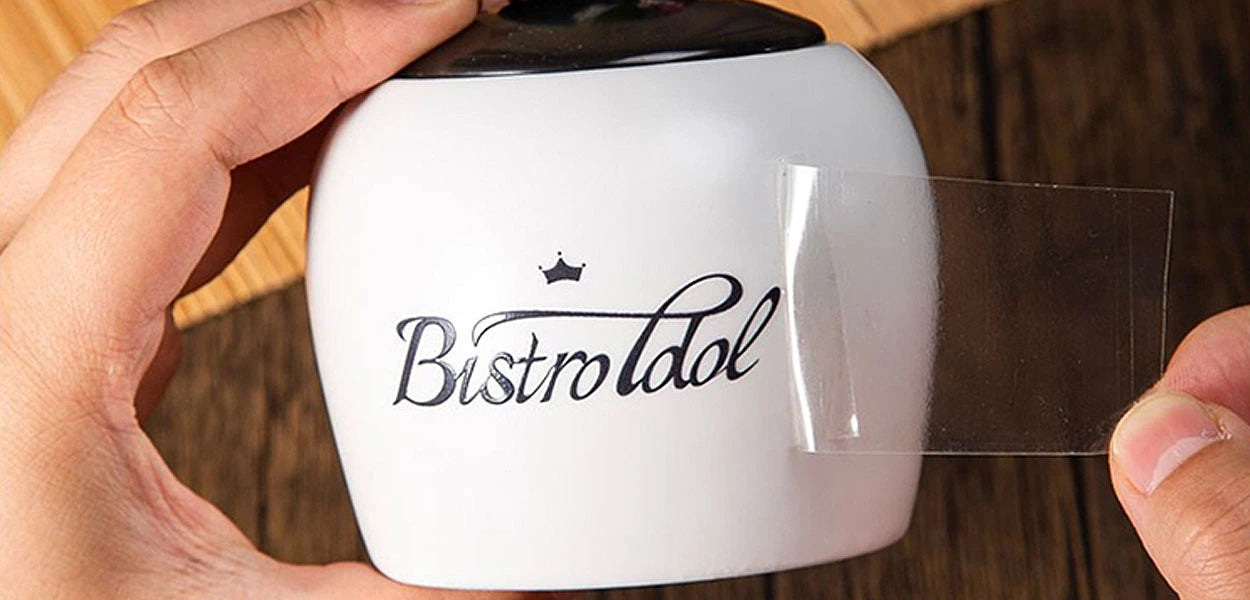
2. Separating The Clear Carrier Sheet From The White Backing
Separate the clear carrier sheet from the white backing by making a small tear. Do not tear near the design. Next, SLOWLY separate the clear carrier sheet from the white backing. We have a saying in the dojo - Don’t use your hands, use your EYES. This ensures every piece of your design is lifting onto the clear carrier sheet. If it’s not, set it back down, squeegee again, and try pulling that specific area which didn’t lift from a different side. The more thin and separated design elements there are, such as small text, the slower you should peel. The larger the design elements, the less careful you need to be. You will get a feel for it as you continue to work with our Stickers.
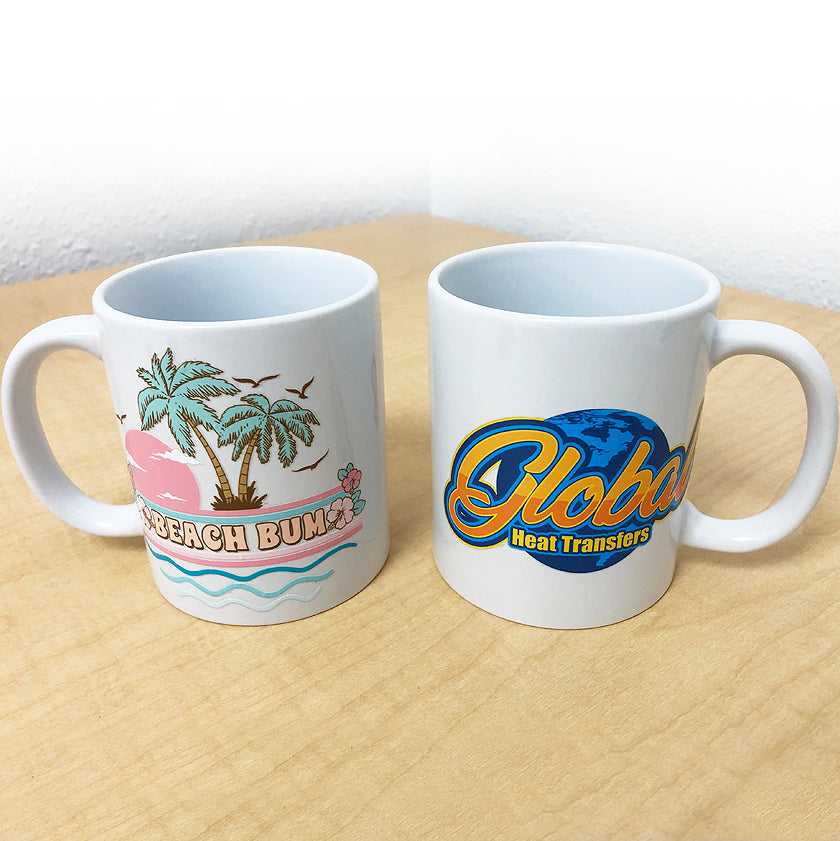
3. Placing your Sticker Onto Your Item
First, identify the placement area on your item. Then lay the design down starting from one side and ending at the other. This will help control your placement, reduce bubbles underneath the design, and avoid wrinkling of the carrier sheet which could cause design elements being offset and/or design overlapping. Tip: Leave an edge of the carrier sheet lifted, aka “dog-eared”, so you can easily grip it.
4. Completing The Transfer Process
After placing, use the padded end of the squeegee to run over it with hard pressure, back and forth 3-5 times. This forces adhesion to your item. Don’t squeegee over the “dog-eared” edge to retain something to grip. You are now ready to SLOWLY peel. Again, use your eyes while you peel to ensure every element of your design remains on your item. While peeling, move your grip inward to maintain a controlled peel. If all elements do not transfer, you can lay the clear carrier sheet back down, squeegee hard again, and try pulling that specific area which didn’t lift from a different side.
Art Upload Recommendations
We accept all file types, we always prefer vector files (all raster art uploads should be at least 300 dpi).
Art Templates
Make sure you are submitting your art the right way by using one of our templates.
- 22" x 6 in - AI / PDF
- 22" x 1 Foot - AI / PDF
- 22" x 2 Feet - AI / PDF
- 22" x 5 Feet - AI / PDF
- 22" x 10 Feet - AI / PDF
- 22" x 20 Feet - AI / PDF
Shipping & Returns
Shipping & Returns